Ceiling filing is possible with different materials: solid, foam, osb, PVC and gypsum boards, clapboard, board, etc. Mistakes are often made during independent work. When I got to work, questions immediately arose: how best to hem the ceiling? What material is better? What are the details of the work? Consider the basic rules when performing filing.
Do-it-yourself ceiling filing
Surface preparation
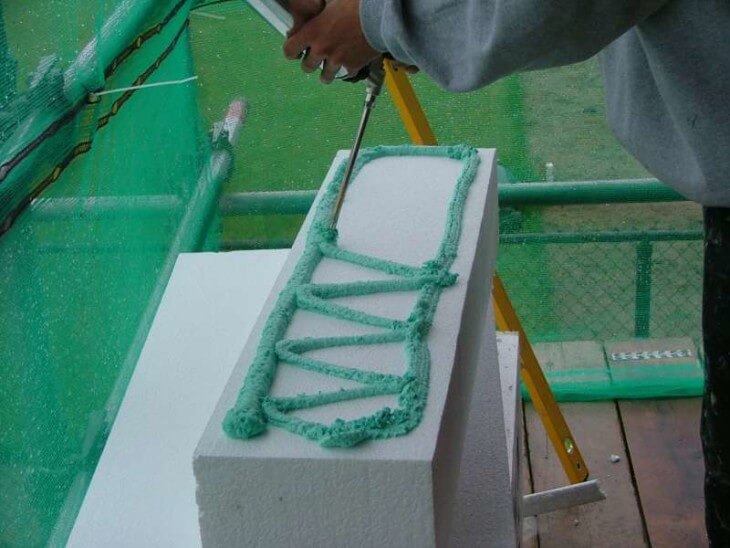
When cladding with foam boards, it is important to prepare and level the surface. You can’t work hastily, saving on glue, without removing dirt from the surface, without treating with a primer, after which the tile lags behind, it is glued back, smearing more glue, without learning from your mistakes.
But this is not worth doing, especially since, having spent money once on a thorough surface preparation, we can safely mount various structures on it, being confident in the reliability of the foundation.
Without preparation, we will have to check every time, or randomly mount the structures, hoping that everything will be fine, the neighbors may not flood, and the tiles may not fall off. I always carefully prepare the surface, putty defects and have never regretted it.
You can not work hastily, saving on glue
Ceiling lining with foam boards
I often hem ceilings with this material due to ease of installation, affordability, good sound insulation performance, and it will be warmer in a room with such a ceiling.
The main mistake is the lack of a primer and putty, the tiles are carelessly glued to a layer of dust, after which they soon fall behind along with a thin layer of dark dust that can be seen on the reverse side, this is because there was no primer that seals the top layer, creating an additional barrier for waterproofing . We will learn from the mistakes of others, and make the installation correctly.
For installation, it is better to use acrylic glue, whoever tried to replace it with a standard one at least once will not refuse it.
It is also quite possible to hem with other materials. But it should be borne in mind that the principle of fastening the skin, the construction of the frame is not much different when replacing the filing.
Ceiling lining with foam boards
Hemming of frame ceilings
Note that shelving and suspended ceilings differ in distance from the base, suspended ceilings are used for rooms with high ceilings. Hemmed ones - on the contrary, with low ones, so as not to steal precious space.
There are 2 types of binders:
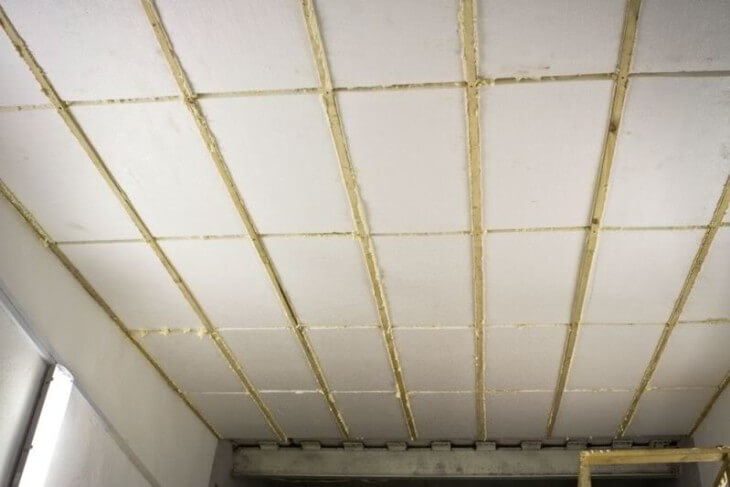
- Without a frame when the material is mounted to the ceiling.
- With a frame, when the filing is mounted to the crate.
Ceiling without plywood frame
The frame can be wooden and metal, the first is used to save material, improve sound insulation, in short areas with a constant temperature and normal humidity, it is more advisable to use a wooden frame.
The metal is durable, it is often used on large planes to increase strength, it is a prerequisite for wet rooms. The frame steals 5-6 cm, which is less than suspended, but also more stretch ceilings.
With differences of more than 3-4 cm, I recommend using a frame for filing. According to technology, it will be much easier and faster than plaster, although the costs are about the same, but more economical and faster than a suspended ceiling, less cost, stolen space.
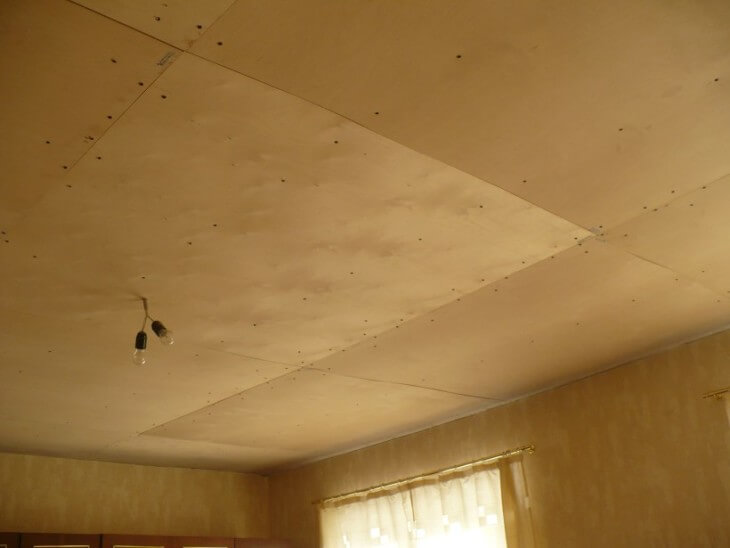
The lining is mounted to the crate
To seal the joints between the walls and drywall, a tape is used, we should not forget that for drywall it is very important not to fix it around the perimeter rigidly to the walls, plinth or stucco molding, the ceiling must be free to avoid deformation.
When choosing a filing, it should be borne in mind that drywall is less expensive than lining or plaster, but it is less durable, it will have to be changed every 3-4 years, whoever is not ready for such sacrifices should opt for PVC or lining.
Installation of PVC panels
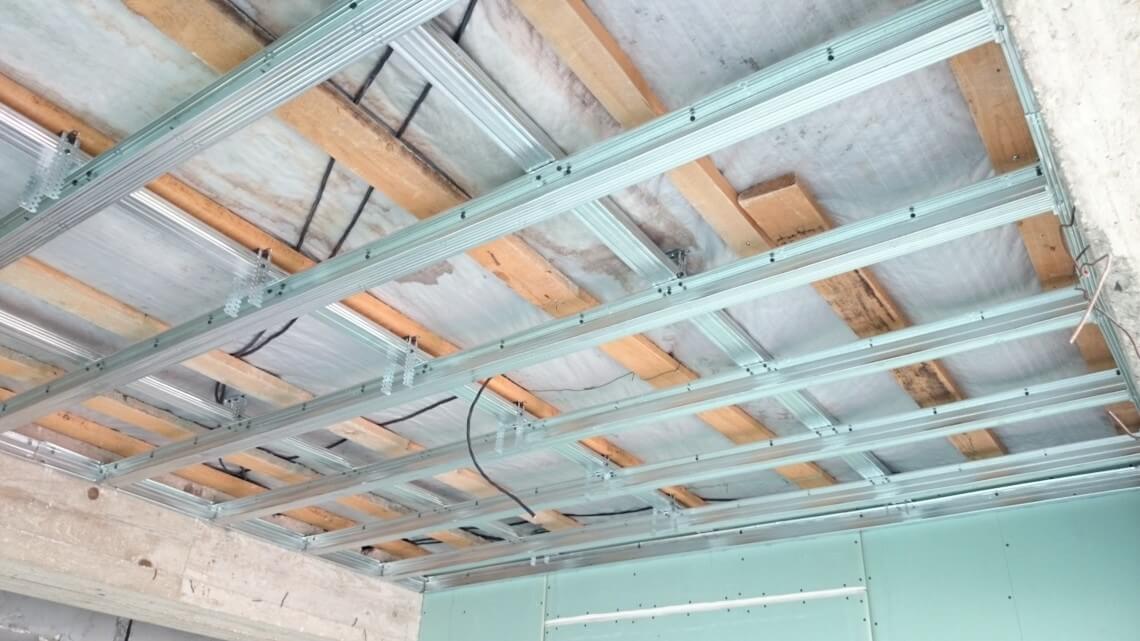
In this method, it is quite possible to place thermal insulation under the crate. A wooden frame with a section of 20 by 40 mm is attached to the "quick installation" or self-tapping screws, depending on the material under the crate.
Installation procedure:
- Reiki are located perpendicular to the direction of installation of panels, at a distance of 40 cm from each other;
- The places between the fasteners at the locations of the lighting fixtures are reinforced with additional two bars running across the existing ones, and we attach them to the ceiling and to the crate with self-tapping screws;
- Then, a mounting bar is fixed around the perimeter, having an angle of 90 degrees, it includes a ceiling plinth, which is fixed at the beginning, the first panel enters the groove between the bar and the plinth, we attach corners to the bar on the sides for attaching the plinth and planks;
- In the places where the lighting fixtures are attached, we make holes and bring out the wires, you can mount the lighting on top of the panels, for reinforcement.
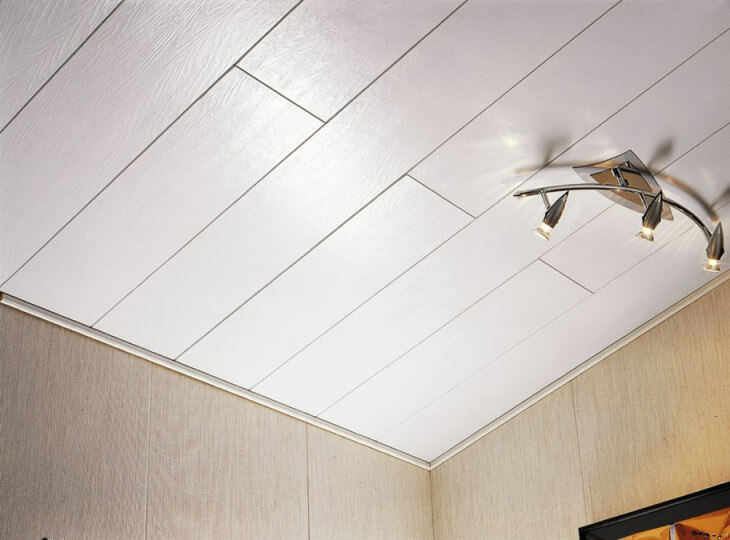
Ceiling made of plastic panels
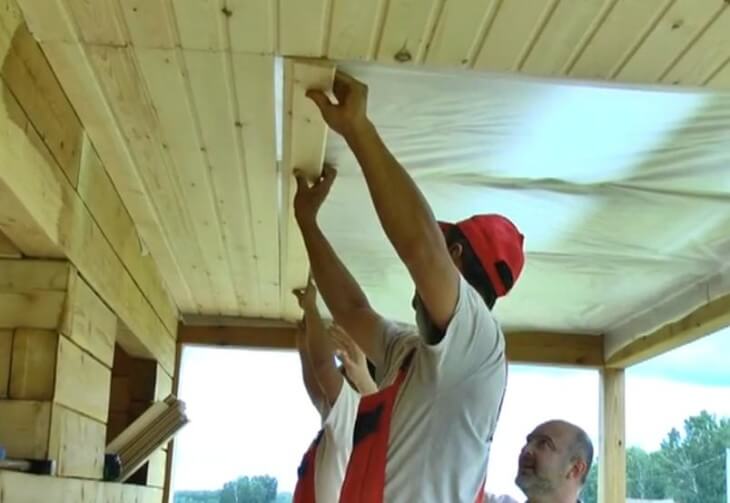
Clapboard lining
It is necessary to dry the lining well before installation, if it is damp. Before work, you should also install a vapor barrier film, carefully study the instructions so as not to confuse the sides, the joints are glued along the length with double-sided tape.
The rule is often neglected, it is extremely important to follow the recommendation in winter, when the material shrinks, if it is quickly fixed to the ceiling, this is fraught with a slightly convex surface, the appearance of cracks over time, which many attribute to low-quality material, and everyone is advised not to install such a filing later, they say , I've put it, but it burst all over.
Lining the ceiling with clapboard
Often masters are faced with such a problem: painted lining is often crooked, factories come to such tricks to mask flaws.
Before installation, I recommend placing the lining on the floor with an edge, and looking at what is the most curved, and using it to bypass lamps and other elements so that they are even in the center and the curves are not conspicuous. Also, uneven filing can be used at the beginning or at the end, so as not to be very conspicuous.
Installation of lining occurs with nails 40 mm long. As practice shows, they are quite enough for reliable fixation, because the weight of the lining is small.
In the case when the house is less than 2–3 years old, a gap is left between the lining and the walls in the region of 15–20 mm. During installation, it is important not to lose sight of the mounting points of the fixtures before the final sheathing. A similar scheme for filing the ceiling with a board, only the nails are selected depending on the thickness of the material.
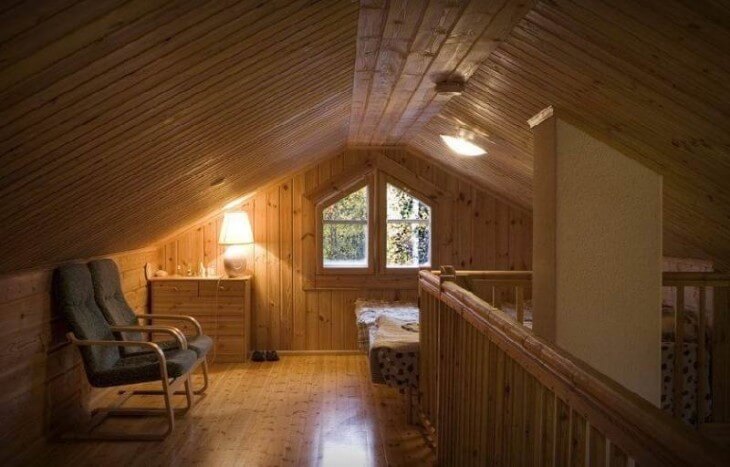
Do-it-yourself clapboard ceiling lining
After sheathing, the lining is recommended to be treated with one layer of primer or two layers of paint.
Ceiling filing is possible with other materials, no matter how the ceiling is hemmed, the main thing is to follow the technology for the correct installation of various materials, they are mounted according to a similar principle. As my practice shows, these tips allow you to make high-quality filing, using the entire resource of the material, a replacement only in case of extreme wear of the material.
Do-it-yourself ceiling sheathing from A to Z